

Teacher Tutorial
1. Opening the software
After successful installation you can use either of the following ways to start the program.
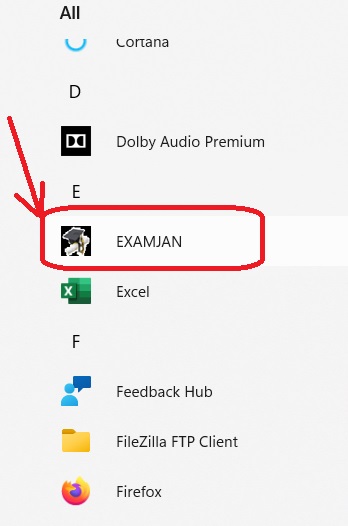
a. Use the name "EXAMJAN" from the list of all programs
b. Use the icon "EXAMJAN" from the desktop screen
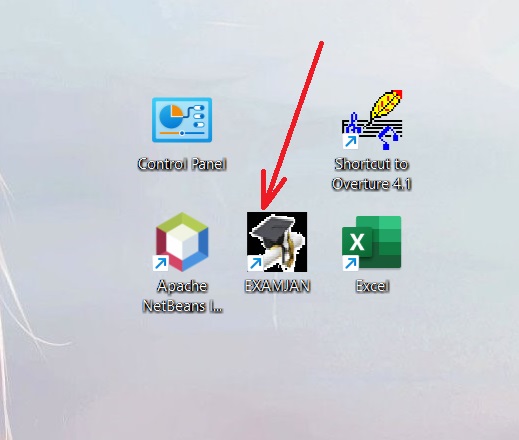
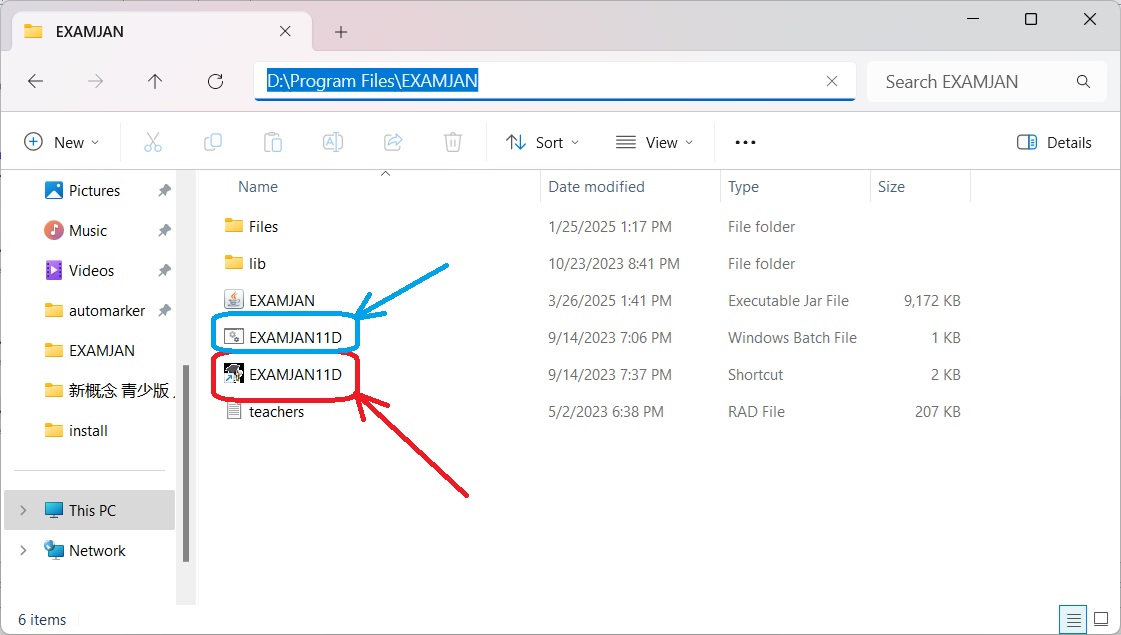
The icon will be named according to the name of the installation folder.
Example: The icon will be named "EXAMJAN11E" if your installation folder is "E:\Program Files\EXAMJAN"
but it will be named "EXAMJAN11D" if your installation folder is "D:\Program Files\EXAMJAN".
2. Registering/Login to the software
a. RegisteringIf it's the first time to use the software, you will have to register,
otherwise you have to log in using the credentials used during registration.
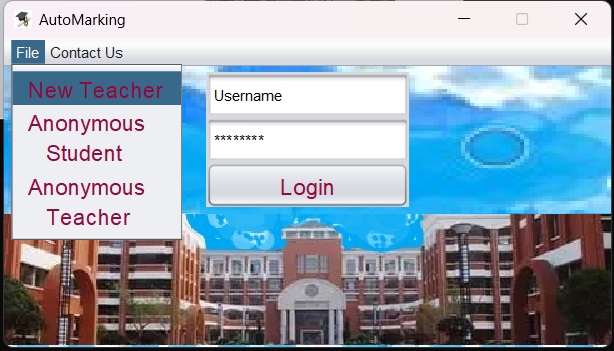
File -> New Teacher

Click on "New Teacher"
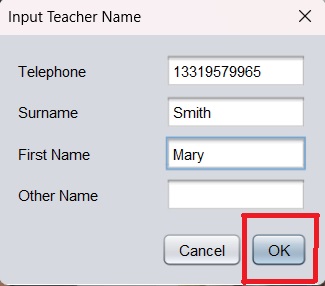
Fill the form (Country code is not necessary since every information will be locally registered)
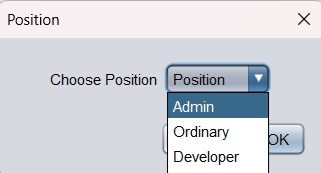
If this is your personal computer it's better to choose Admin as position.
(Admin teacher will have privileges of creating other teachers, making students groups and adding students in their respective groups.)
If you are the main teacher (Head Teacher who will manage other teachers), you better choose admin but you will choose "ordinary" for other teachers.
Ordinary teachers won't be able to create groups of students or add students.
b. Login
Use the telephone number (or the number you used as such)
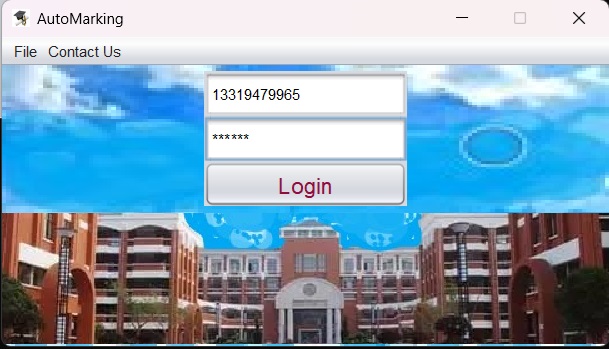
After typing in your password you can press "Enter" or click on "Login"
c. Subject creation
If this is your first time, you will be required to input the name of the Subject you intend to create tests for.
You may have to do so even if you are the admin teacher who intends to control other teachers.
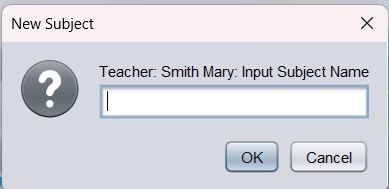
Then choose the name of the subject you just typed.
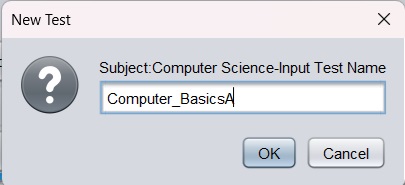
d. Test creation
If this is your first time, you will be required to input the name of the Test you intend to create.
You may have to do so even if you are the admin teacher who intends to control other teachers.
e. Test settings
1. The School's Picture
The School's Picture may or may not be necessary, you can skip this step if you don't want to personalize your own school's picture
and the following picture will be the default one.

At this stage you have at least to set three settings: Duration of the test, the passing score and Test code.
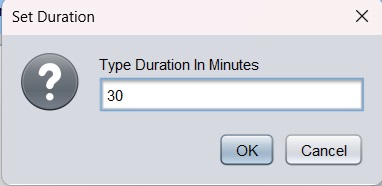
2.Duration
Edition -> Options -> duration
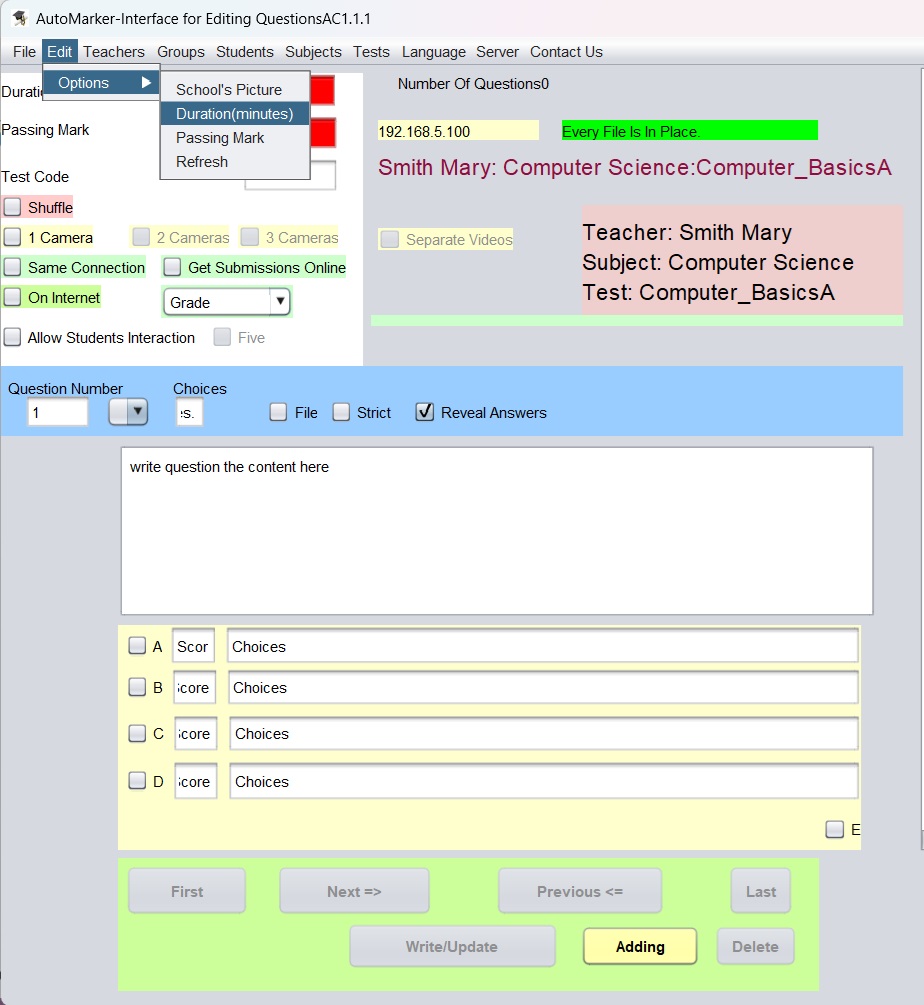
3.Passing mark
Edition -> Options -> duration
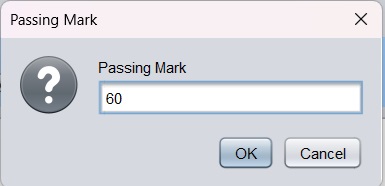
click "OK" and the interface will require you to set the passing mark.
To get the test code you need to go to: Edition -> Options -> Refresh

The generated code will be given to students after they successfully log in the system. click "OK".
The Shuffle check box will be checked if you want the questions to be shuffled.
This means that questions will appear in different order for each student and the choices for each question will be shuffled as well.
The "1 Camera" check box will be checked if you want the camera on the student's computer to take the process of the exam,
especially if you need to make sure that the student intended to sit for the test was exactly the one who did it.
The disabled checkboxes are only available for the premium version.
The "Same Connection" check box will be checked if the teacher's computer will be connected on the same connection as the student's computer.
(Same LAN or same wifi).
The "Allow Students interaction" will be checked if this test will be used as a teaching material.
It will open a chat room for students to send messages to the teacher.
You have to click on the button "Adding" to start feeding the content of a question.
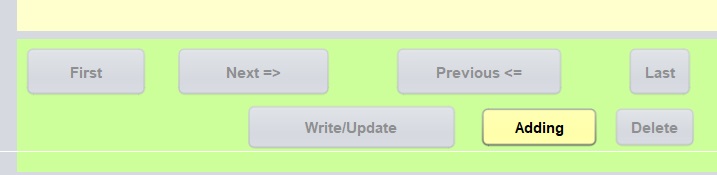
You will feed the content of the question as follows and then click on "Add".
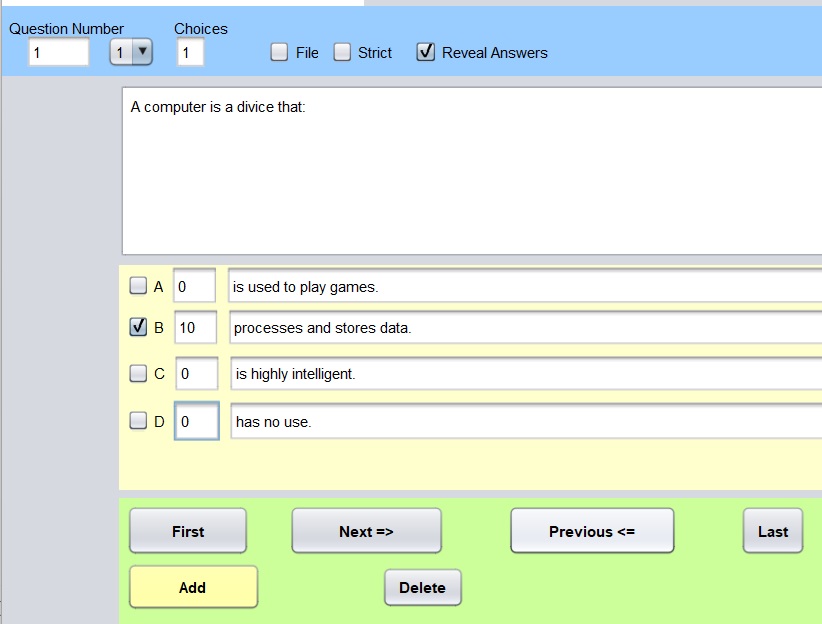
Notice 1:
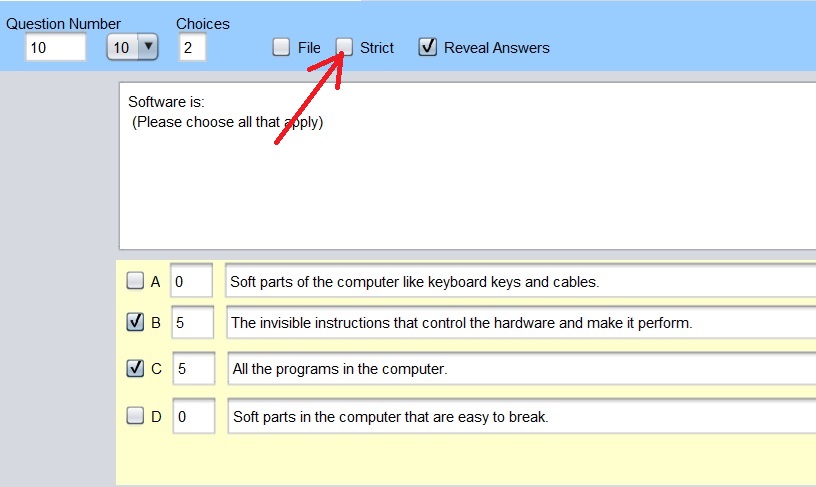
A question might have more than one right answers as follows:
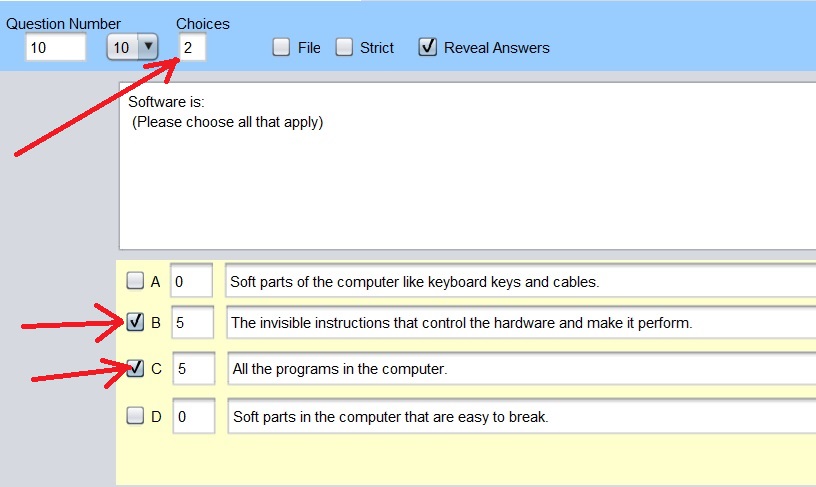
otherwise he gets a zero mark even if they get a few of the right answers. If you leave the box unchecked, the student will only get the mark for the right answers they got.
A teacher might need students to first read a file (picture, audio, gif or video) for the content of the question as follows:
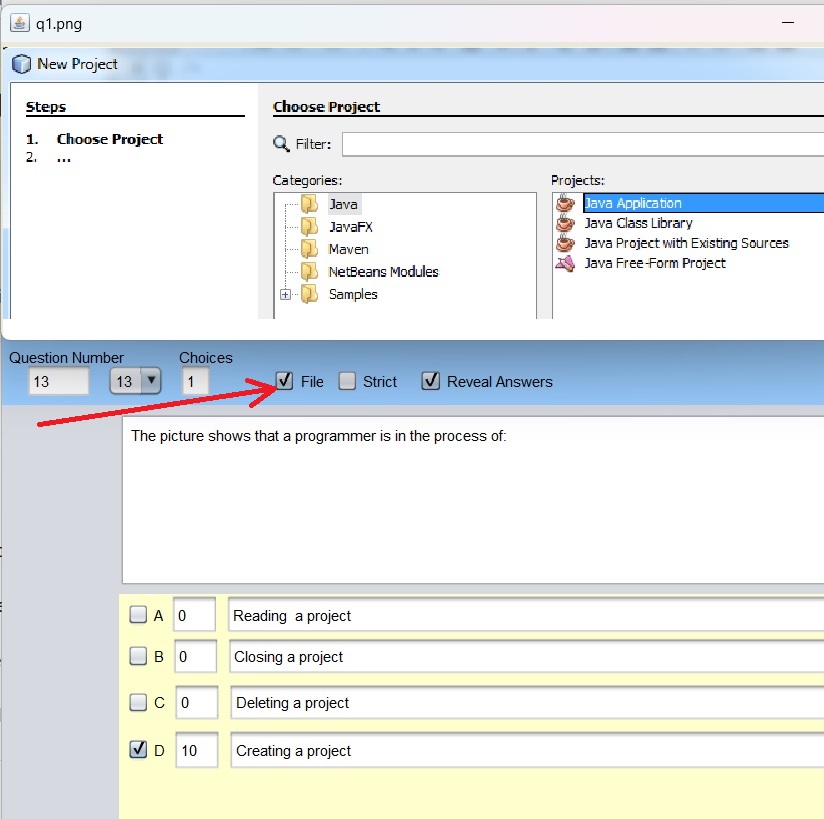
The teacher will have to check the box called "file" which will open a dialog to choose which picture file goes with the question.
N.B: The good thing is that file can be: Pictures(.jpeg, .png),Gifs(.gif) or Audios.
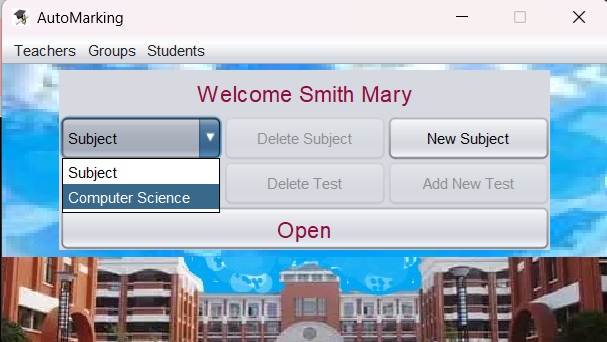
3. How to conduct a Test.
a. Login first
b. Choose Subject
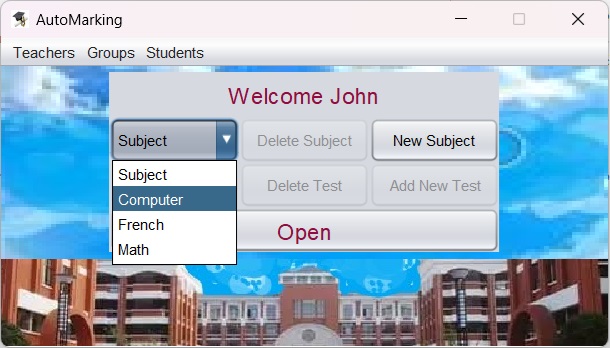
c. Choose Test
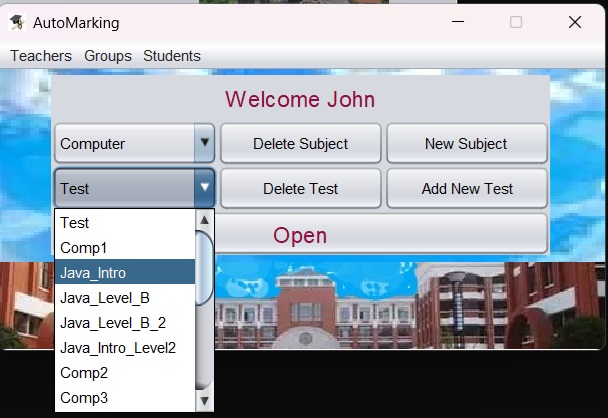
d. Click the "Open" button
e. Click the "Start" button
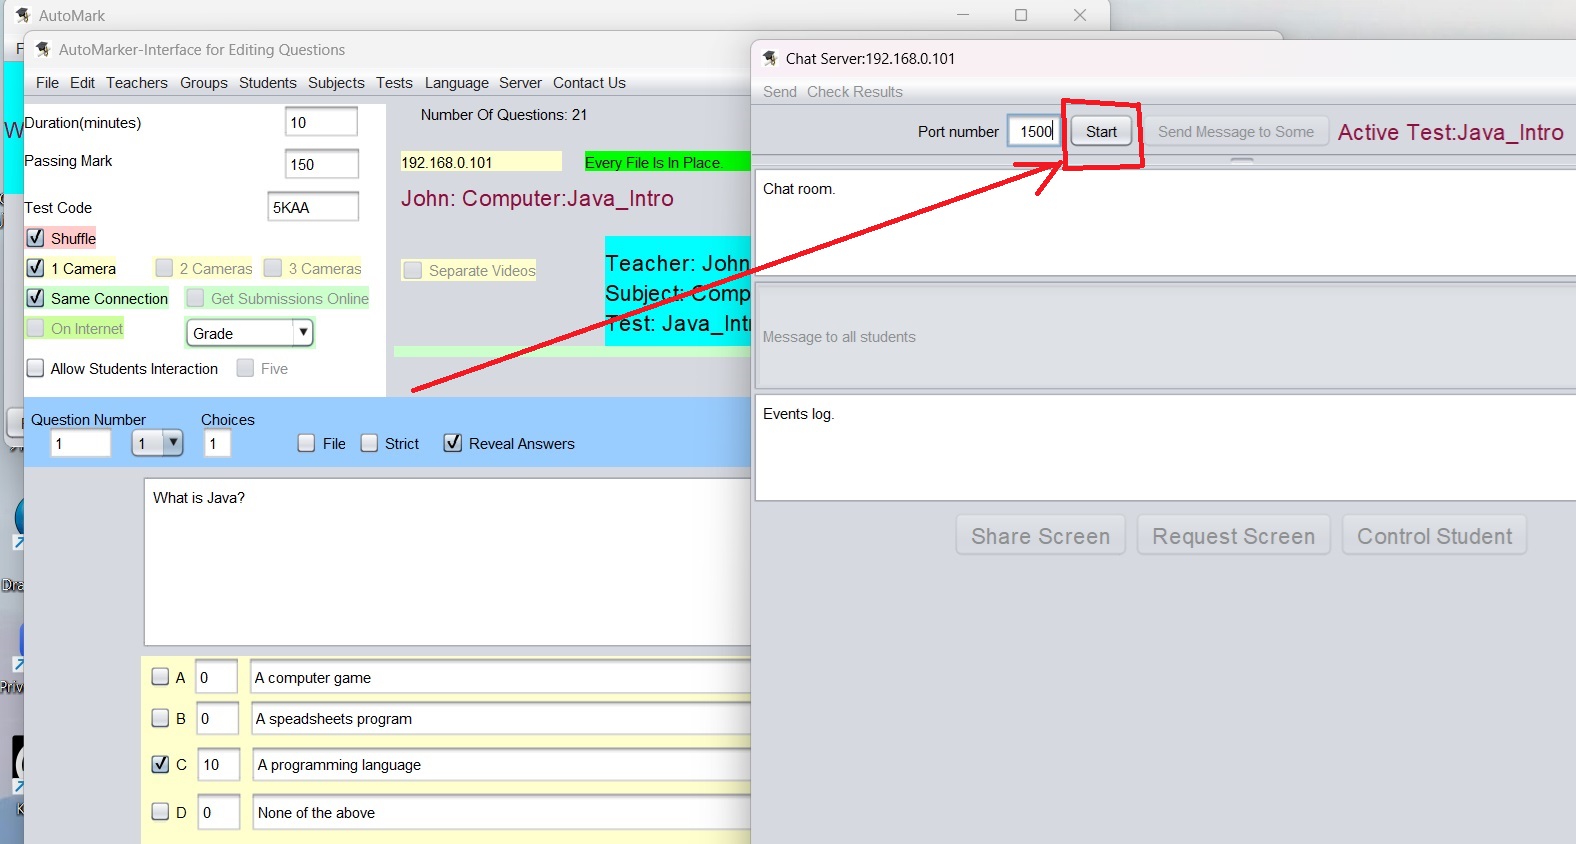
The button will turn green and the server will be ready to show you every client/student who will connect to the system.
4. How to register students.
Students must be in groups. If the group of the student has been created, then skip the next step(a).a. Create a group
Use the same dialog box you used for logging in to create a group.
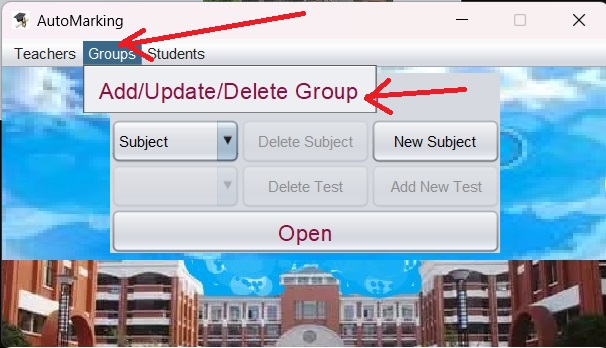
Click on "Groups" menu then click on "Add/Update/Delete Group" menu item.
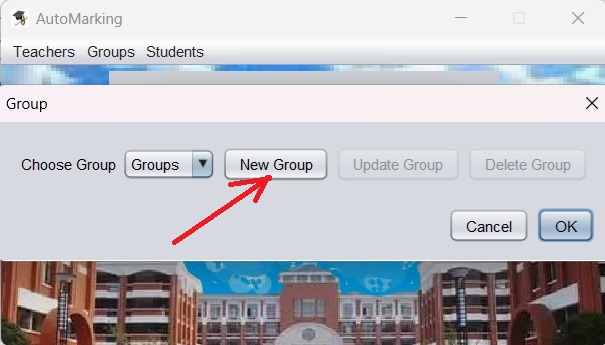
Click on "New Group"
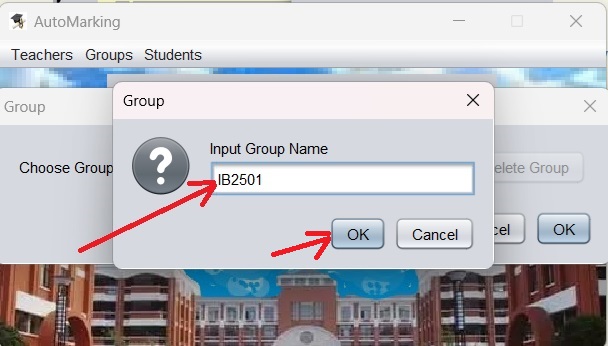
Type in the name of the group then click OK.
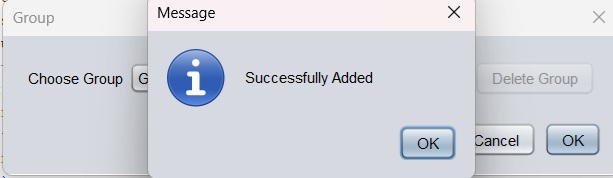
Voilà
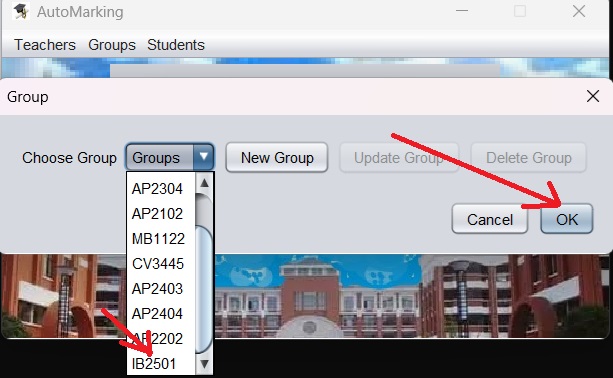
The group you created is added to the list and you can click on OK button to finish the process.
b. Register a student (One by one)
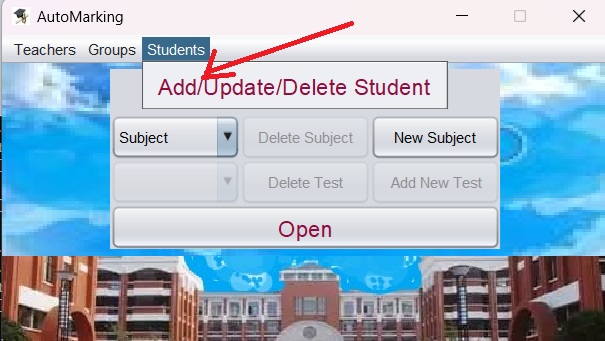
Click on "Students" menu then click on "Add/Update/Delete Student" menu item.
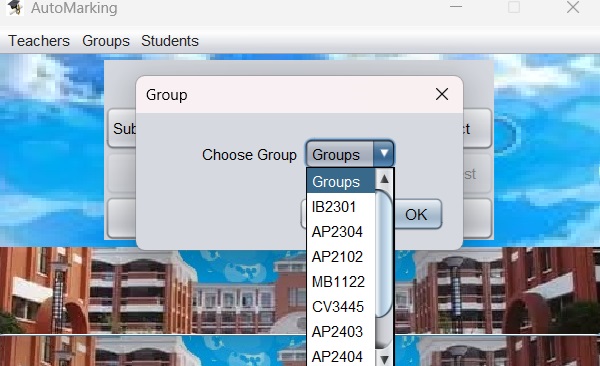
Choose the group of the student.
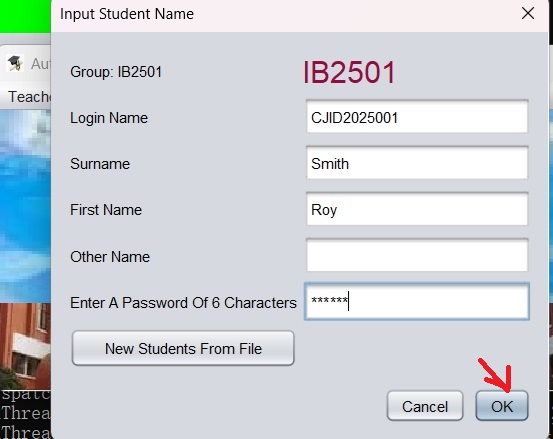
Fill in the student's information then click OK.
c. Register many students (Many at once)
This way will be used if you have many students on the list, like for example on the following picture:
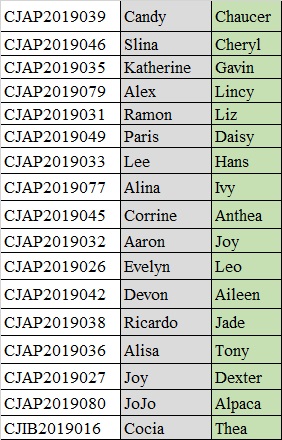
Copy all the cells containing students information
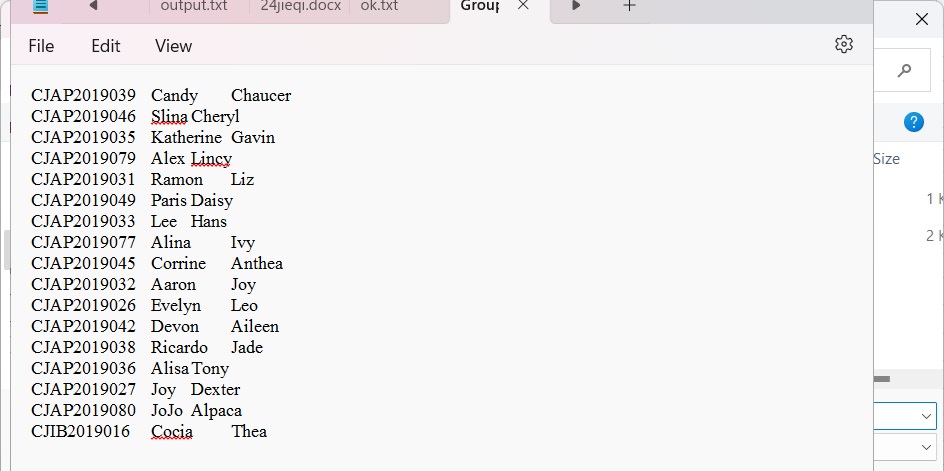
Paste on a notepad file. (It may look like the picture above, do not edit the spaces even though they may look messy.)
Save your notepad file.
Use the same login dialog box
Click on "Students" menu then click on "Add/Update/Delete Student" menu item.
Choose the group of the student.
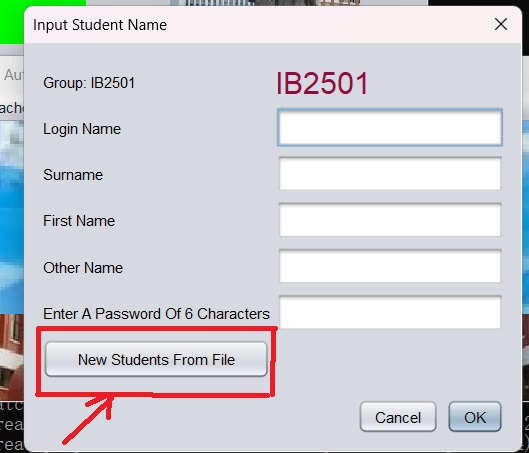
Click on the "New Students From File" button
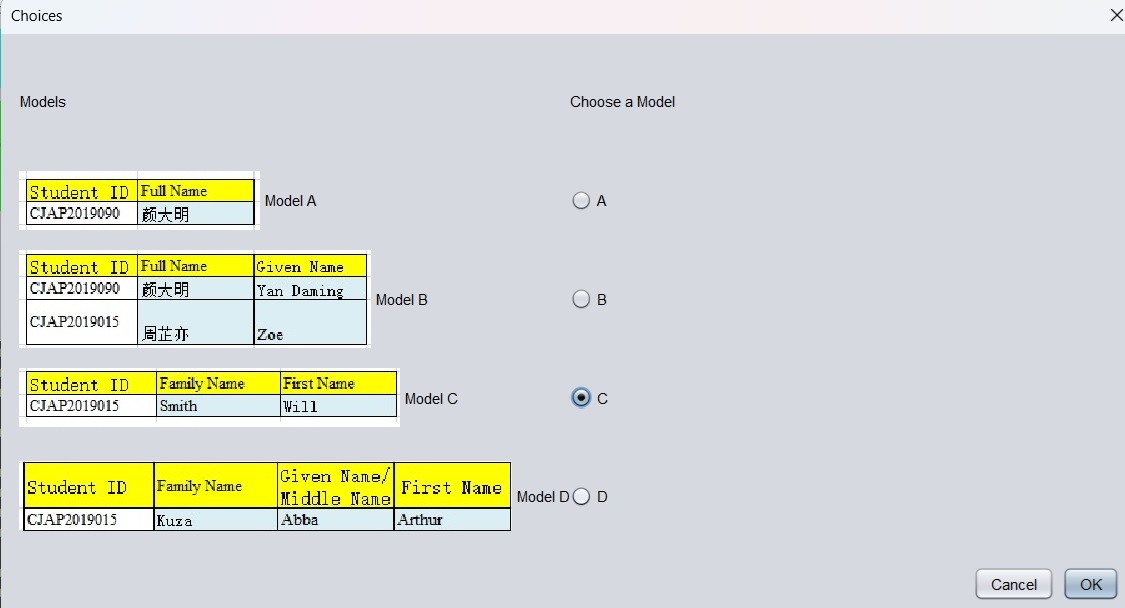
Choose a model that better looks like the excel table you used to create the text list on notepad
then click "OK".
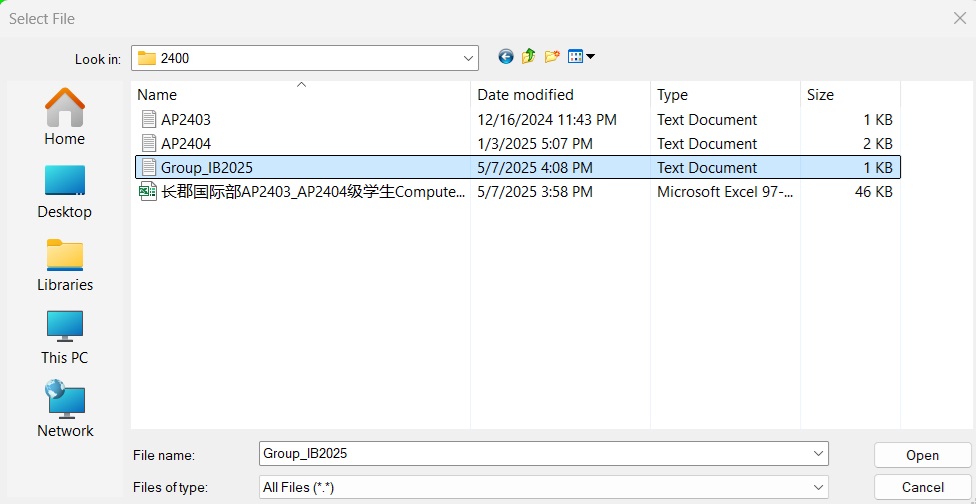
A dialog will ask you to browse to where you saved your notepad file and open it.
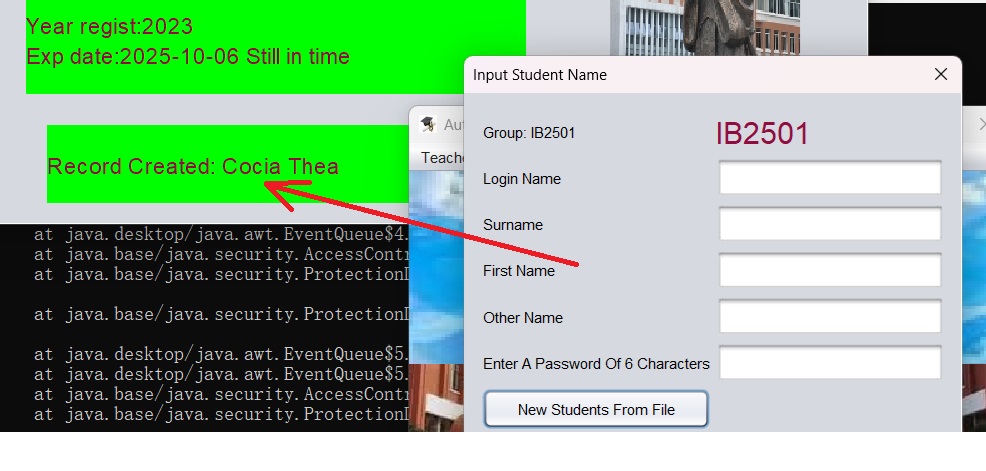
That's it. The back interface will even show you a successful registration of the last student on the list.
(But of course all of them have already been registered!)
N.B: Students will log in using their ID number (Or whatever appeared in the first column of the list
and their password now is the last six characters of that ID.
For example, in this case,the last student on the list will login with: CJAP2019016 and the default password is 019016.
Passwords can be changed later.
d. Send the students list to the system to make them able to login
After students have started the program, while they are waiting to login,
the teacher will use the chat server to send the group of students to the system (This operation may not be necessary if the group has been sent before.)
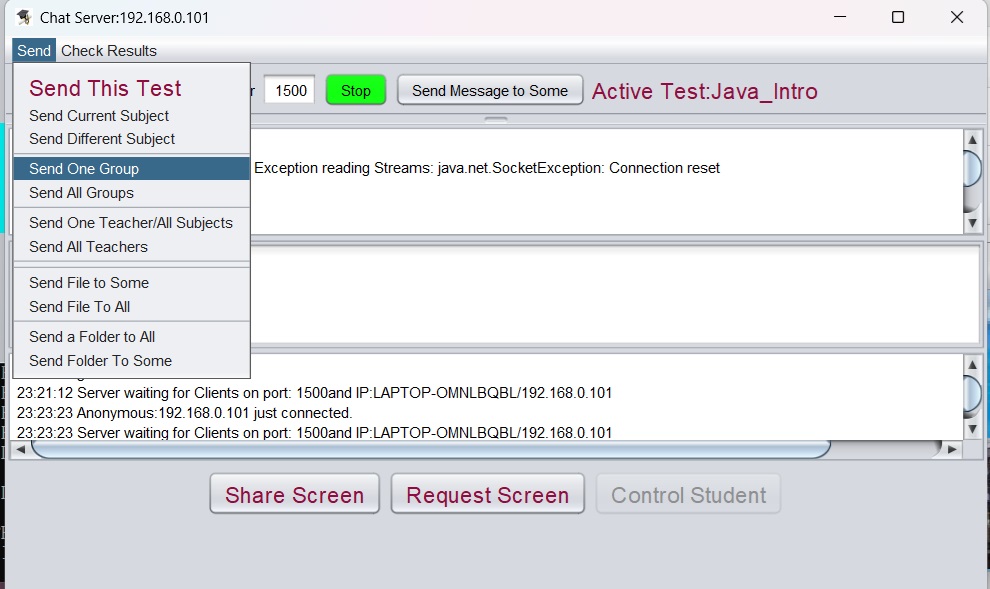
e. Send the test to the system
After students have started the program, while they are waiting to login,
the teacher will use the chat server'menu "send" and choose "Send This Test" menu item to send the test to the system (This operation may not be necessary if the group has been sent before.)